How to Set Up Your A5 Budget Binder for Cash Envelope Success
To set up an A5 budget binder, place your laminated tracker in the front pocket, open rings using side levers, and load cash envelopes in alternating zipper orientations (top-left and bottom-left) to distribute bulk. Keep 0.5 inches of ring clearance to prevent misaligned ring gaps.
Unboxing & Physical Assembly Checklist
- Inspect PU leather cover for smooth stitching and scratch-free surface.
- Test 6-ring mechanism using top/bottom side levers only (do not pull rings directly).
- Count and verify all 100 transparent waterproof cash envelopes.
- Check that pouches 1-100 feature crisp, clear numerical labels.
- Test your fine-tip wet-erase marker on a corner of the laminated tracker.
- Slide the laminated tracker into the front internal pocket or front ring slot.
Step-by-Step A5 Binder Assembly Instructions

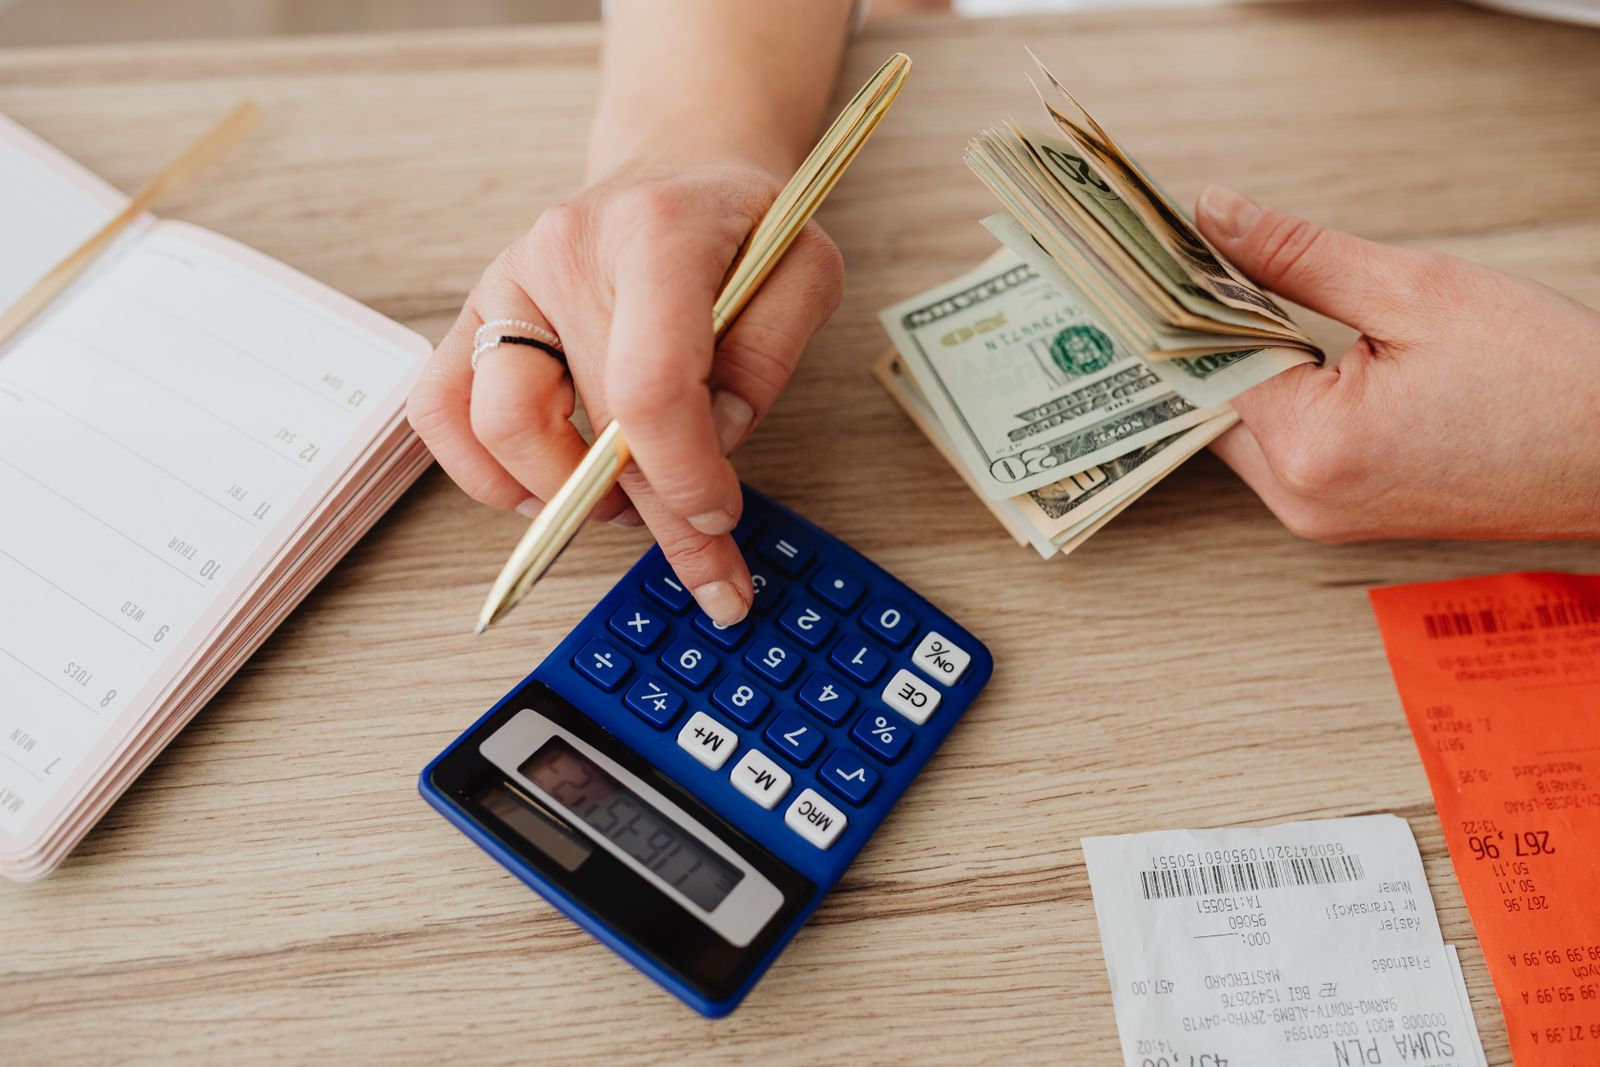
Photo by https://kaboompics.com/ on Pexels
Follow these practical steps to assemble your binder, protect the ring mechanism, and set up your cash envelopes for long-term success.
Pro Ergonomic Tip: Staggering Zipper Pulls to Prevent Binder Bulge
The single biggest issue budgeters face when setting up a 100-envelope binder is the 'wedge effect.' Because vinyl zipper heads are thicker than the plastic pouch body, stacking all 100 zipper pulls on the same side creates a severe bulge along the outer edge. To maintain a flat, comfortable binder that closes neatly:
Core Principles of Binder Setup
- Side levers preserve metal ring alignment; pulling rings apart creates gaps.
- Alternating zipper pulls (top-left vs. bottom-left) eliminates wedge bulge.
- Fine-tip wet-erase markers prevent smudging while allowing easy damp-cloth wipes.
- High-denomination placeholder cards keep pouch thickness manageable.
- Transparent waterproof pouches protect physical bills from dust, water, and accidental spills.
Selecting Your Envelope Organization Strategy
Choose the pouch arrangement that best matches your income frequency and savings goal flexibility.
Best choice for
- Numerical Order (1-100) — Easiest for tracking linear progress and matching exact dollar amounts to pouch labels.
- Low-to-High / High-to-Low Staggered Batches — Allows you to stuff higher dollar envelopes on commission paydays and lower on lean weeks.
- Shuffled Color-Coded Pouches — Adds excitement as kids draw random numbers without predictable cost anxiety.
- Placing all 100 heavy cash-filled pouches into a single binder without checking ring gap tolerance.
- Using permanent alcohol markers on reusable laminated trackers.
- Two-Binder Split (1-50 in Binder A, 51-100 in Binder B) — Prevents binder bulge completely when using crisp, un-folded physical bills.
Essential Setup Tools & Binder Specs
Having the right budget binder kit makes setting up your cash stuffing system simple, colorful, and durable.
A5 Envelope Arrangement Strategies (Side-by-Side)
| Strategy | Pouch Sequence | Paycheck Fit | Best For | Bulk Risk Level |
| --- | --- | --- | --- | --- |
| Sequential (1-100) | 1 to 100 numerically | Fixed monthly budget | Linear $5,050 challenge goal | Moderate |
| Paycheck Batches | 1-25, 26-50 rotated | Bi-weekly paychecks | Flexible cash-stuffing routines | Low |
| Shuffled Random | Mixed numbers 1-100 | Variable income / tip earnings | Family budgeting & kids games | Moderate |
| Category Split | Grouped by savings goal | Multiple simultaneous goals | Vacation, car, emergency funds | Low-Moderate |
Compare the four primary ways to order your cash envelopes inside your binder before clicking the rings shut.
Visual Blueprint: A5 Zipper Staggering & Loading Layout

Photo by https://kaboompics.com/ on Pexels
Refer to this spatial specification to load pouches into your binder rings without creating spine tension.
4 Common Setup Errors That Ruin A5 Binder Rings
Avoid these frequent missteps when unboxing and assembling your cash envelope binder system.
Binder Setup & Maintenance Schedule
- Day 1 (Unboxing) — Inspect PU leather, verify 100 pouches, test side ring levers, test wet-erase marker on tracker.
- Weekly / Payday — Stuff selected cash envelopes, stagger zipper pulls, color in tracker numbers with wet-erase marker.
- Monthly Checkup — Check binder ring alignment; move high-denomination overflow cash to bank if ring capacity exceeds 0.5 inch clearance.
- Post-Challenge ($5,050 Reached) — Wipe laminated tracker clean with a damp cloth, clear cash envelopes, and reset for your next savings goal.
Frequently Asked Questions About A5 Binder Setup
Here are answers to common questions about setting up and maintaining your A5 budgeting binder.
Continue Your Cash Stuffing Journey
Explore additional guides on building your cash budgeting system and making financial literacy fun for the whole family:
- How to Start Cash Stuffing for Beginners (Step-by-Step Guide)
- Troubleshooting Your Budget Binder: Bulk, Wear, and Ring Fixes
- Teaching Kids About Cash Saving with Budget Binders
- Paper vs. Reusable Savings Trackers: Which Is Better?
Your Immediate Action Steps
Your decision: Decide whether to organize your envelopes numerically (1-100) or by paycheck batches before opening the binder rings.
Do this next: Unbox your A5 PU leather binder, press the side levers to open the 6 rings, and insert your laminated tracker into the front sleeve.
- Read next: How to Start Cash Stuffing for Beginners
- Read next: Troubleshooting Your Budget Binder: Bulk & Ring Fixes
Get the official PU Leather A5 100 Envelope Challenge Binder Kit featuring waterproof pouches and laminated tracker at envelopeschallenge.com.
Take these quick steps to get your cash envelope binder fully assembled and ready for payday.
Cover photo by https://kaboompics.com/ on Pexels.